I consider you a beginner who wants to develop quality websites. I briefly discuss how to create a WordPress website, and why you choose WordPress as a development platform. I have written this article with the latest techniques and updated content.
I strongly believe after reading this article without skipping any step you can build your WordPress websites today.
In the video, didn’t find what you were looking for? Read the article below.
Reasons why you choose WordPress for developing websites
USER-FRIENDLY INTERFACE
WordPress stands out for its intuitive and user-friendly interface, catering to both new and experienced developers. An easy-to-navigate dashboard with a visual editor makes content management and customization a seamless process. This accessibility enables users to efficiently control their websites without requiring extensive technical skills.
THEMES FOR ANY PURPOSE
In WordPress you will find hundreds of free themes installing these will enhance your website's user experience. These themes not only enhance the visual appeal of your site but also ensure optimal functionality.
RESPONSIVE WEBSITES
Websites created in WordPress are responsive which means these websites change the layout for different screen sizes (mobile, tablet, desktop computer) which makes your website user-friendly on any device.
EASY TO LEARN
WordPress is comparatively most easiest and least difficult to handle. You as a beginner need one or less than one week to run a fully operative website. This is the main reason why you should choose WordPress over other coding-based platforms.
ROBUST ECOSYSTEM OF PLUGINS
Plugins expand the capability of your website Whether you need advanced SEO tools, social media integration, or e-commerce functionality, there's a plugin for virtually every need.
Steps on "how to create a WordPress website"
There are 3 simple steps by which you can create fully functional WordPress websites.
- BUYING HOSTING and BUYING DOMAIN
- INSTALL WORDPRESS ON THAT DOMAIN
- BUILD YOUR WEBSITE
Step1: Buy a Web Hosting along with a Domain name
Buying hosting is the only expense you have to do in this article on how to create a WordPress website.
What is Domain Name and what is its role?
A "domain name" is simply known as your website address. As you have a name similarly a website also needs a name to be called by users. This name is called a domain name. For example, Google has its domain name www.google.com.
What is Hosting and what is its role?
Simply "hosting" means a webspace where your website will reside. As in your computer text files, images or other files take some space in your PC's hard drive, similarly, a website has some files to be stored and we have to make it accessible to the users 24/7 that is why we have to purchase a web hosting from a hosting provider.
NOTE: "domain name" can be purchased from any provider but "hosting" should be bought from a well-known hosting provider like Hostinger, Godaddy, A2hosting, etc, because everything is directly or indirectly dependent on your website's hosting like the website's speed, performance, user experience, security and your website's google ranking etc. Here in this guide, we'll use "Hostinger" to host our website.
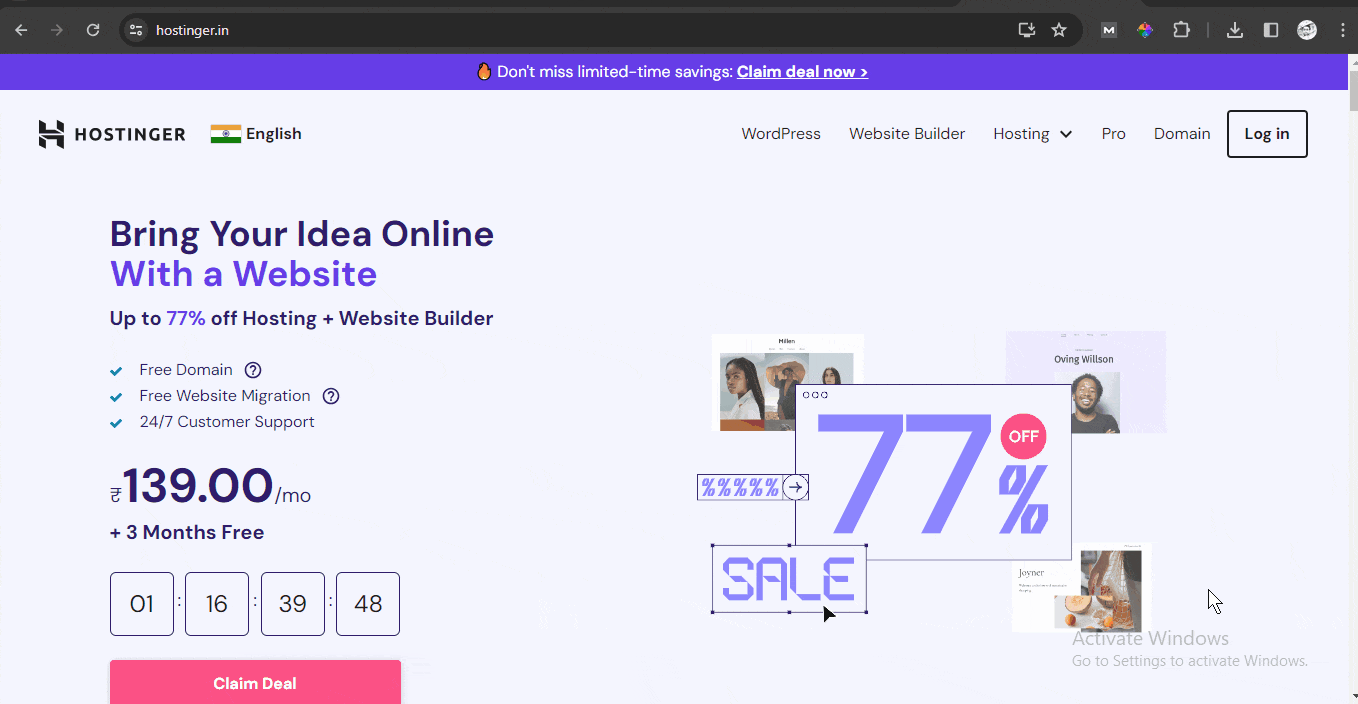
Steps to buy WEB HOSTING
Enter your browser's address bar hostinger.in and then click on hosing -> web hosting
- Select a plan you want to purchase. I suggest you click on the Premium plan as you can create 100 websites in a single purchase or select the Single plan (only 1 website) as per your requirement. Now, click on the Add to Cart button and you will be redirected to the next page.
- Now, choose the time period, for which you want to buy the hosting. I suggest you either go for the 12 or 48 MONTHS because of the renewal price and respectively you can also see the amount at the bottom.
Now, in 2nd step, you have to create an account on Hostinger by entering an "email id" and "password".
Note: This email ID and Password must be remembered because, by this ID and password, you can log in later into your Hostinger account. - Lastly, you have to select a payment method and will be displayed according to your country (Paypal, net banking, card, Google Pay, etc)
On a successful payment, Hostinger will send you your login credentials along with a password to your registered email address.
Note: if you purchased the premium plan then Hostinger provides you with one domain for free for one year. That is one of the reasons why I recommend you to buy hosting from Hostinger and they also provide hosting for an affordable price comparatively.
Don’t worry I will tell you “how to buy a new domain” if you want to build another website later.
Steps to buy DOMAIN NAME
Now Let's buy a domain name.
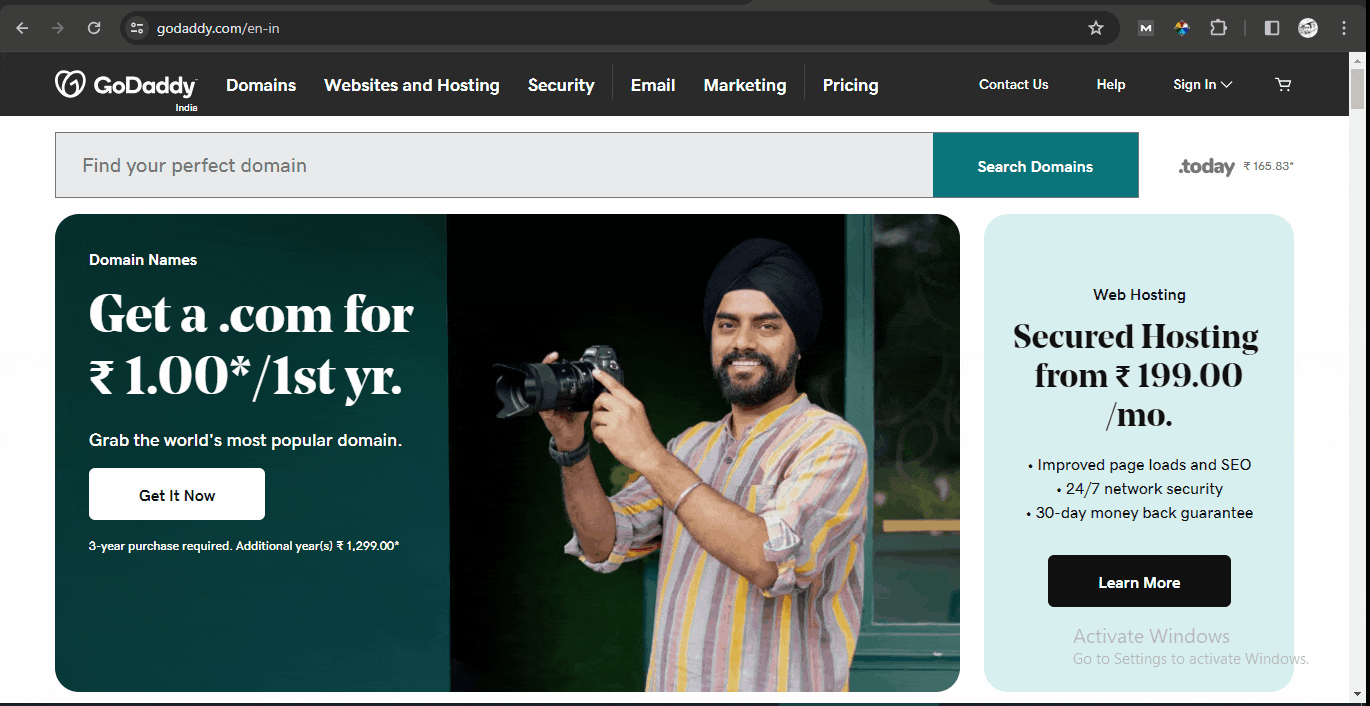
Domain does not affect your website's performance thus can be bought from any provider. Here I'll tell you the steps to buy a new domain from "GoDaddy"
- Go to GoDaddy's website www.godaddy.com. Enter your desired domain name in the search box.
- Then, click on the search domain button and Godaddy's server will immediately start searching if that domain name is available or not.
- If available, click on Make it Yours then Continue it will redirect you to the next page.
- Select the appropriate options as per your need like domain protection, a custom email address. I suggest you choose No Domain Protection in the Protect your domain area and No Thanks in the custom email address area, because from Hostinger you can create your professional email address for free. Now, click on Continue to Cart button.
On making a successful payment, the domain name will be yours for the time duration you have selected.
NOTE: To access the new domain from the Hosting account, you have to change the DNS record of that domain. To know how to change DNS(domain name servers) records of a domain read this article.
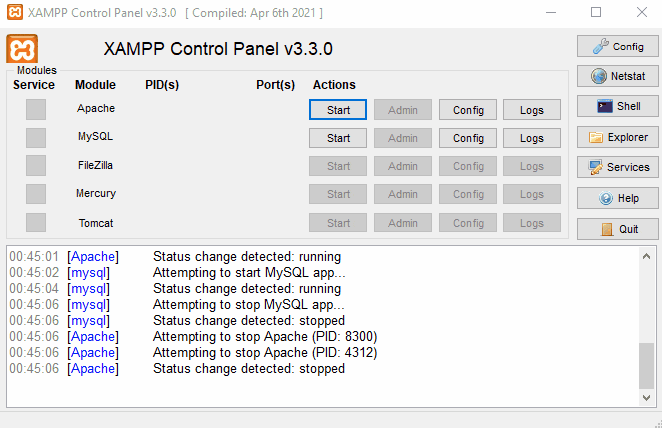
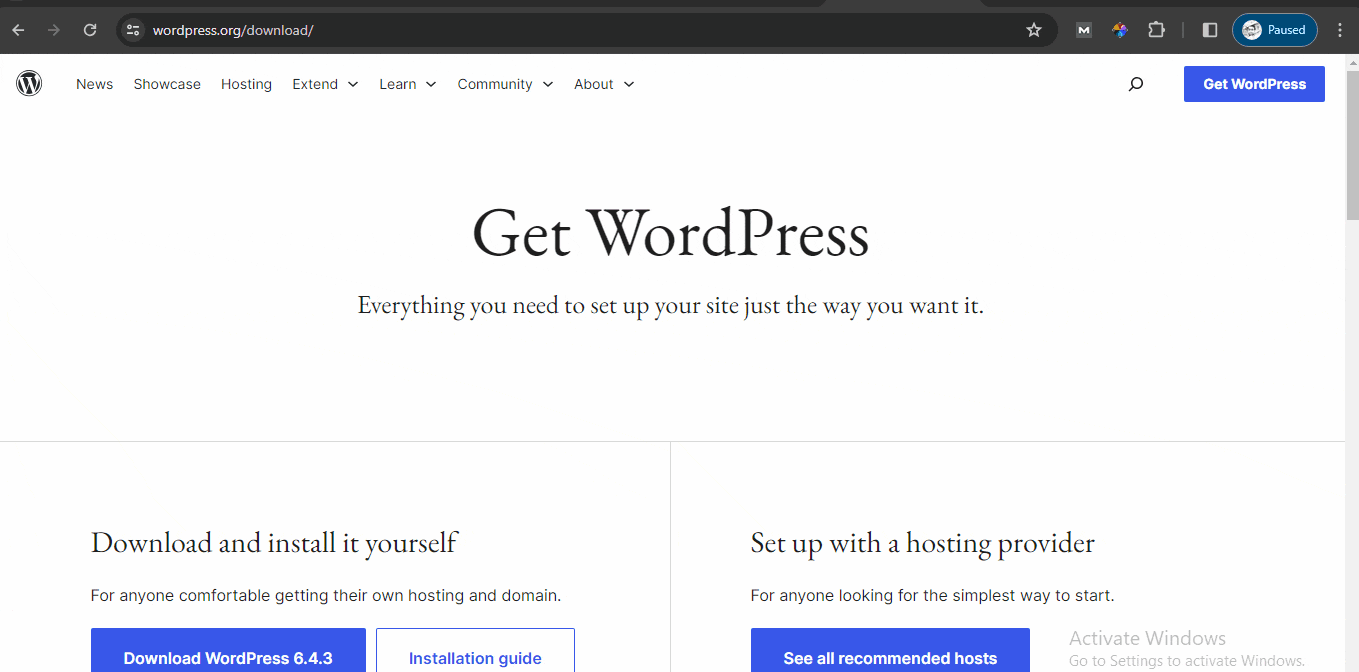
Step2: Installing WordPress
Now, first login into your Hostinger account. After successful login, you can see the screen below. This is your hosting account dashboard, they call it "hPanel". From here you will manage your domains, website hosting, and email accounts.

Next, start setting up your hosting plan. Click on the Setup button to continue.
Then, you will be prompted to create a new website or migrate an existing website, simply click on Skip, create an empty website button.

Do not worry, you can migrate your existing website later.
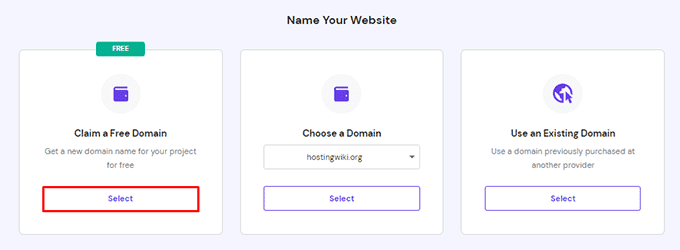
Claim your free Domain
Now, click on the Select button under the "Claim a Free Domain" section.
Simply enter the domain name you want to use and click on Continue.
If the domain name is available, Hostinger will register it for you and add it to your account. Now, you’ll see a new window.
Note: You can also read my article on how to Use an Existing Domain.
Install WordPress
Click on the Add Website button from the Websites tab. Select WordPress from there. A new window will open and select your website type.
Then enter your Website credentials and click on continue -> Skip, I will manage plugins later -> Skip, I don't need a template -> Skip, I will write content later.
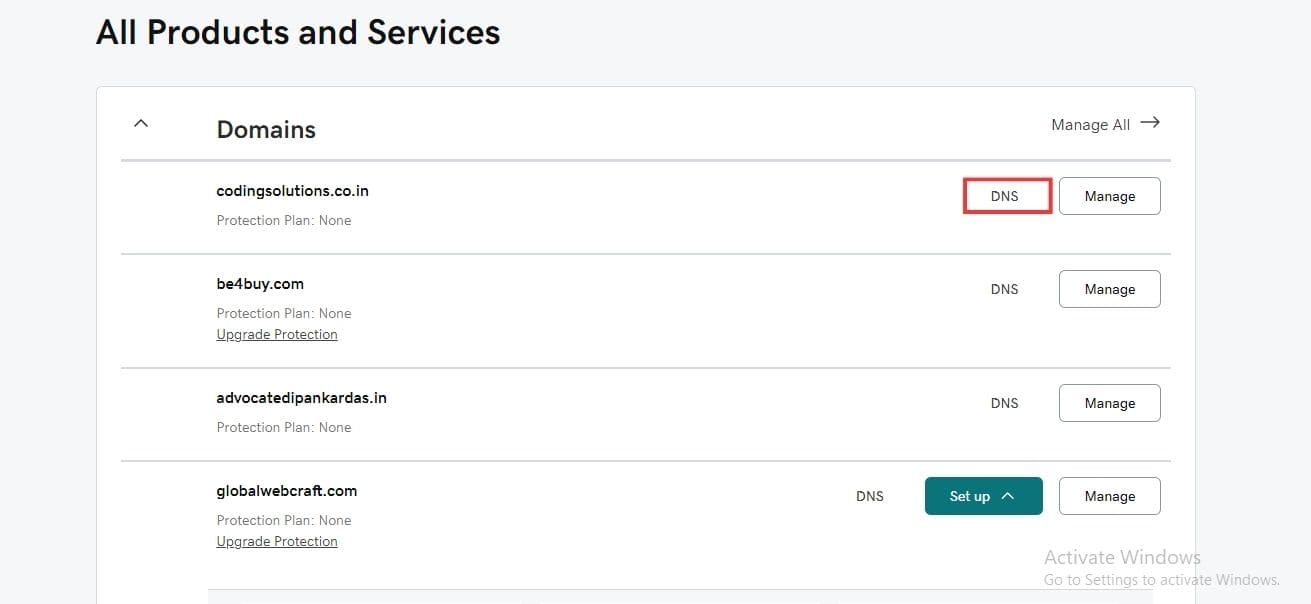
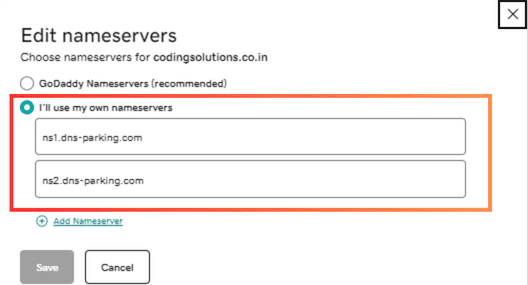
In the next screen, choose from these 2 options, i)Buy a new domain from Hostinger or ii)Use an existing domain where your WordPress site will be installed. Please Note: if you are using "Existing Domain" then you have to update your domain name servers. I have already posted an article on this topic visit article.
Now, click on Continue and WordPress will start installing on that domain, it will take 1-2 minutes depending on your internet speed. After installation click on the Manage Site button from the Control Panel box to enter your website's Hpanel.
Note: Remember the "Administrator email" and "Administrator password" because this email/username and password will need later to log in to your website.

After installation, there are two ways to log in to your website’s Admin panel or website’s Dashboard. i) Type the the Domain name + front slash + wp-admin in your browser (eg: example.com/wp-admin). ii) Simply click on the Admin Panel button from Hostinger’s Hpanel.
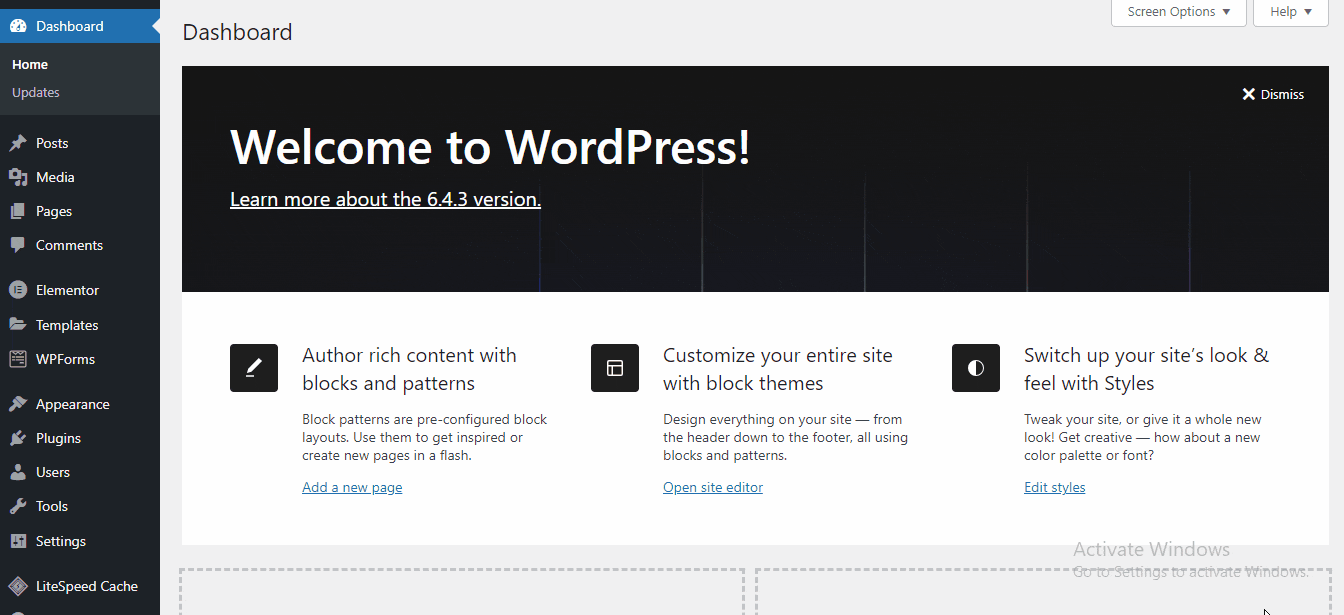
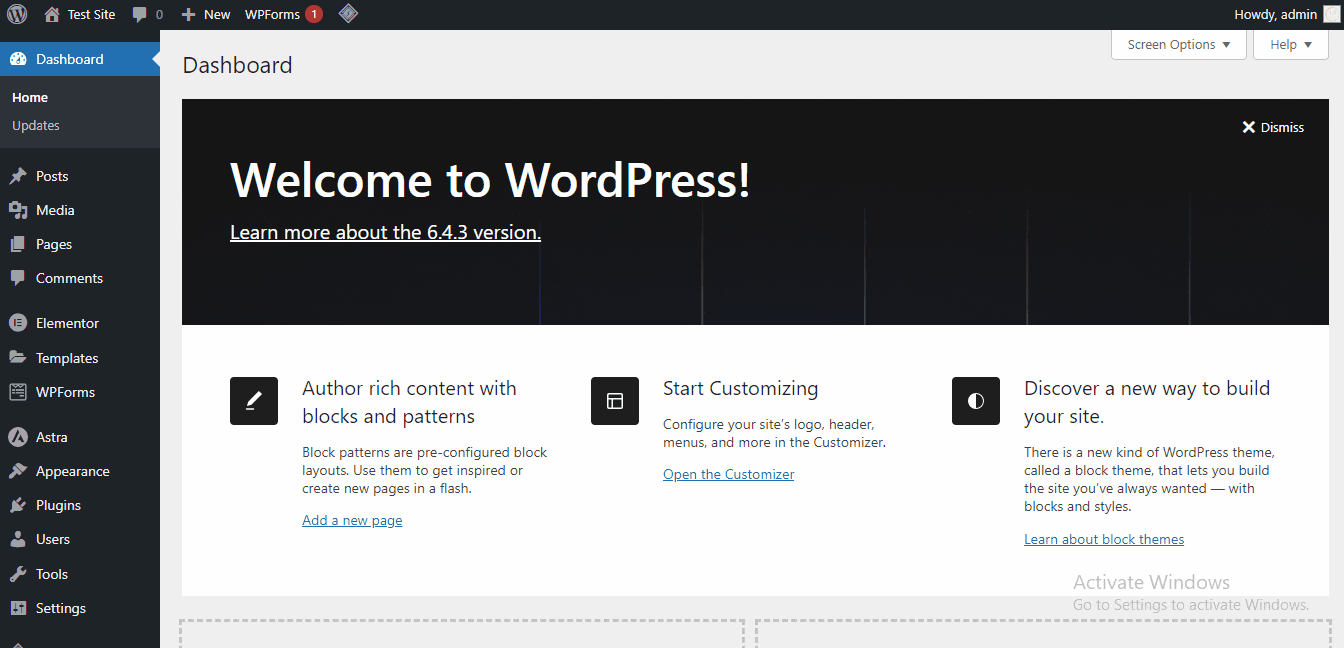
Step3: Build Your Website
Now, first login into your Hostinger account. After successful login, you can see the screen below. This is your hosting account dashboard, they call it "hPanel". From here you will manage your domains, website hosting, and email accounts.
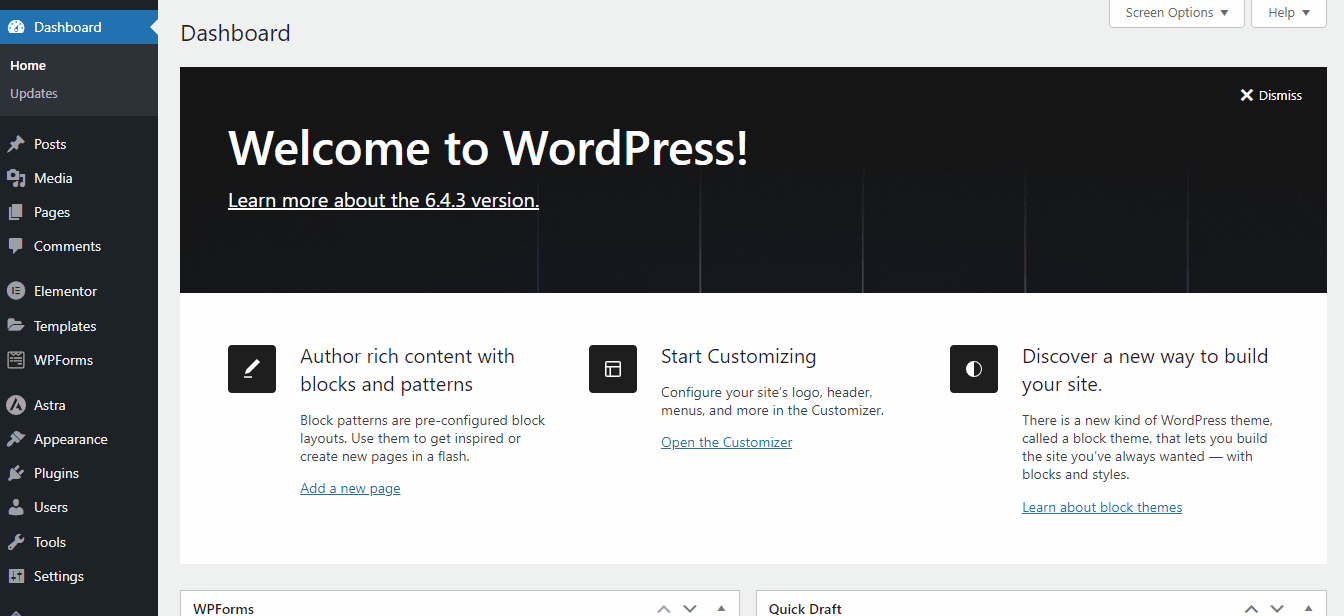
WordPress Dashboard
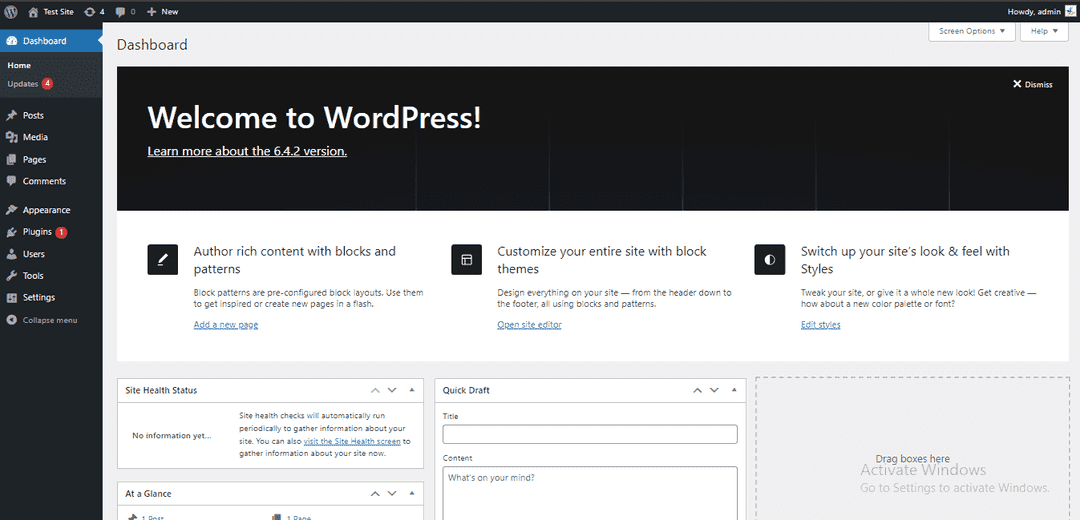
This is your website’s “Dashboard”/”Admin panel” which is the most important page of your website because, from this page, you can manage the website’s pages, posts, style, payments, etc. At this time, A basic site should be installed into your Domain. It’s time to build the website.
Your website’s backend/admin panel consists of many features that you’ll discover with time and effort. But here I give you a necessary idea to start your website development journey.
Also, visit your website frontend to check what it looks like.
Now, the website is basic and looks boring but don’t worry, WordPress is a very handy platform and we’ll change the look and feel just by installing a theme.
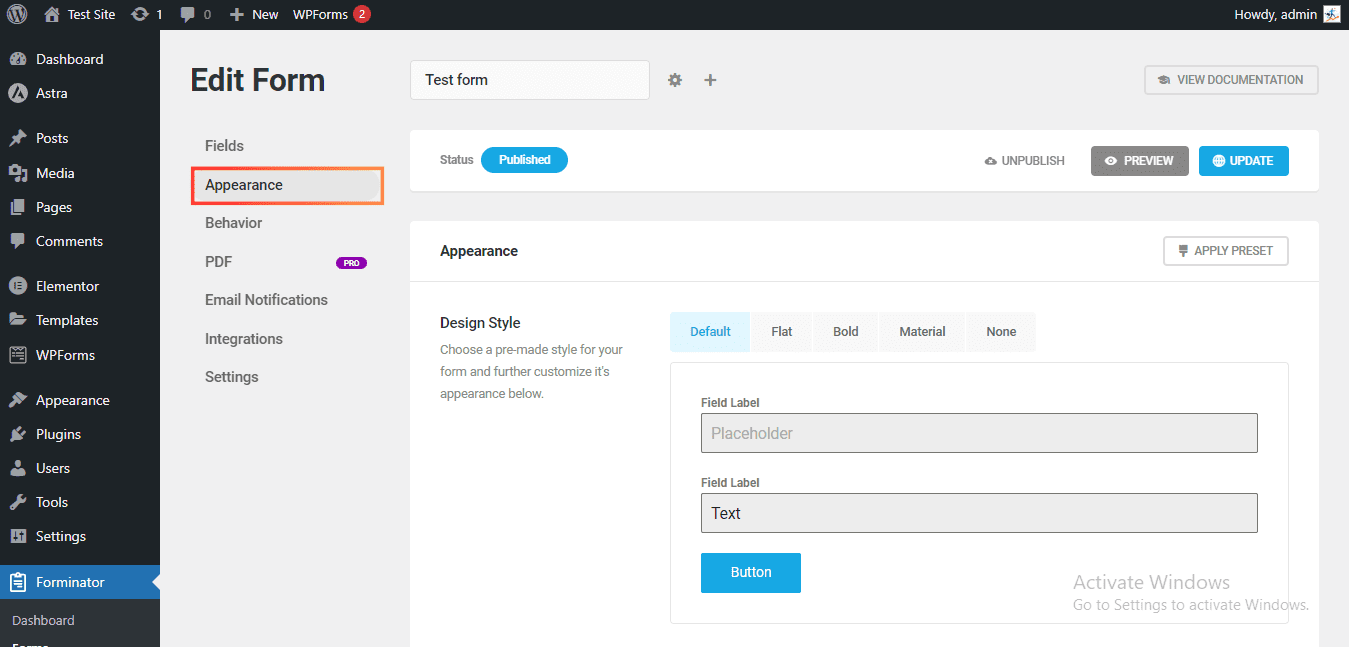
Appearance
This tab is responsible for our site's overall design and look. We can install themes from here and also use prebuilt templates.
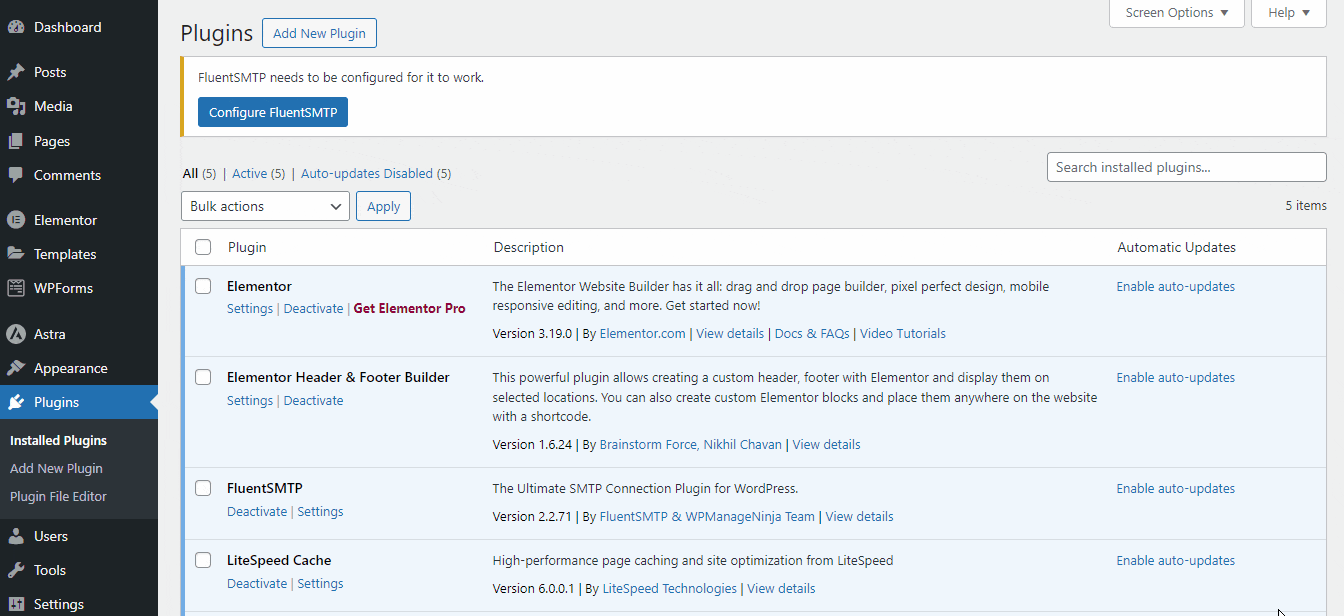
Install Theme for your website
You can find a lot of free and paid themes.
Installing a theme is a very easy process on WordPress websites, just go to Appearance->Themes and then click on Add New Theme finally Activate it. You also find a lot of paid themes there but I suggest starting with a free theme as it is your first website.
Note: The theme is also responsible for making your website faster or slower. I suggest you install lightweight themes like, “Astra”, “Ocean WP”, “Generate Press” etc.
Likewise, I briefly tell you the features that come with WordPress by default.
Posts
"Posts" are articles or content entries on a website that includes 'titles', 'bodies', 'featured images', 'categories', 'tags' and more. You can publish a new blog post from the tab.
Media
The "Media" tab refers to files such as images or videos. It organizes and manages multimedia content, making it accessible for seamless integration into posts or pages, enhancing a website's overall visual appeal and user experience.
Pages
From the tab, we can create our website's "Pages" such as "About us", "Contact us" page, etc. Pages are often used for static information, providing a clear site structure and navigation for users. They are separate from posts.
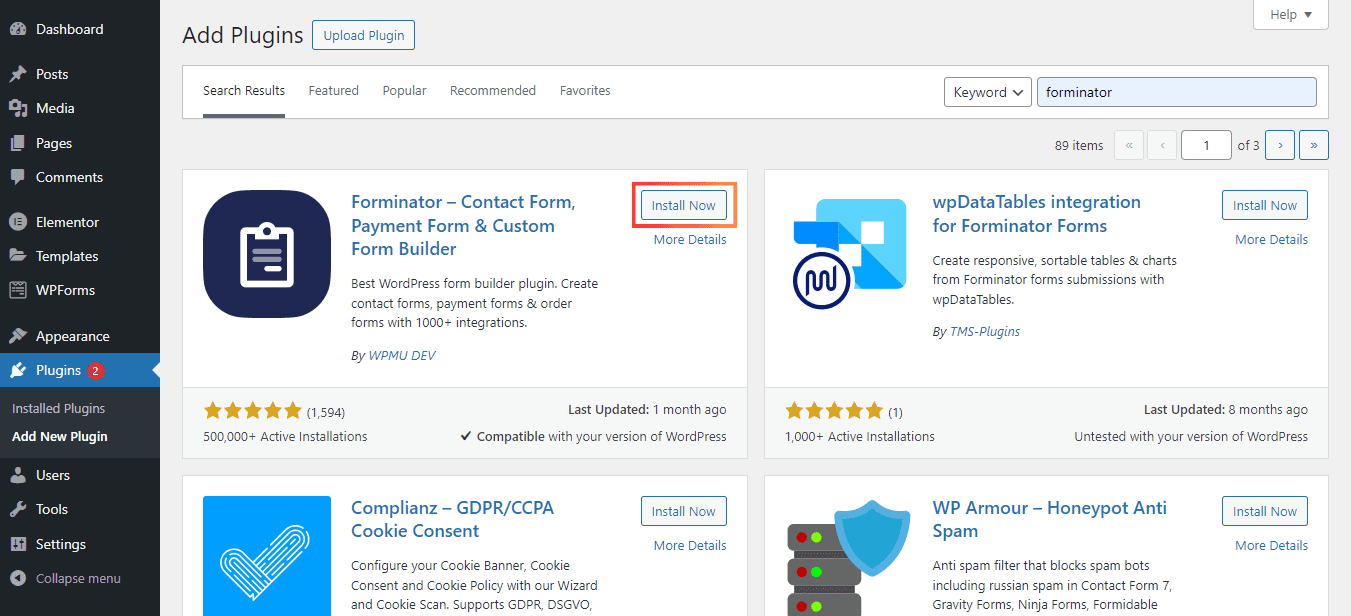
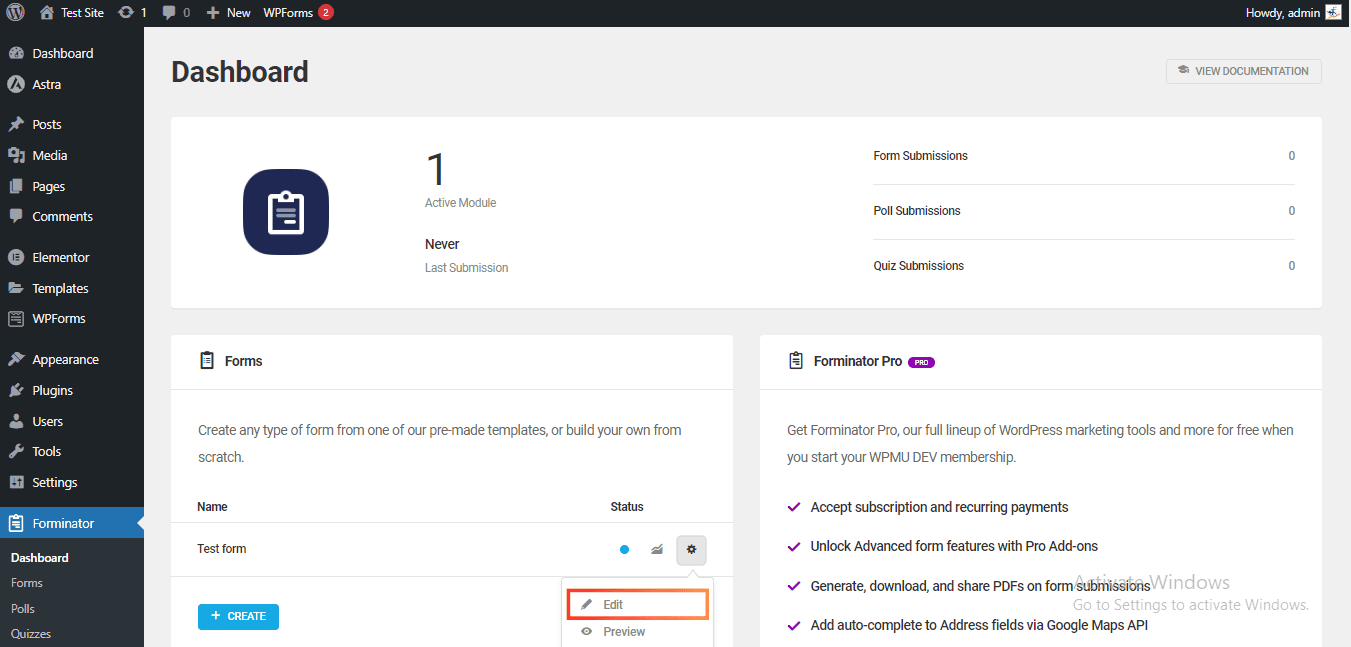
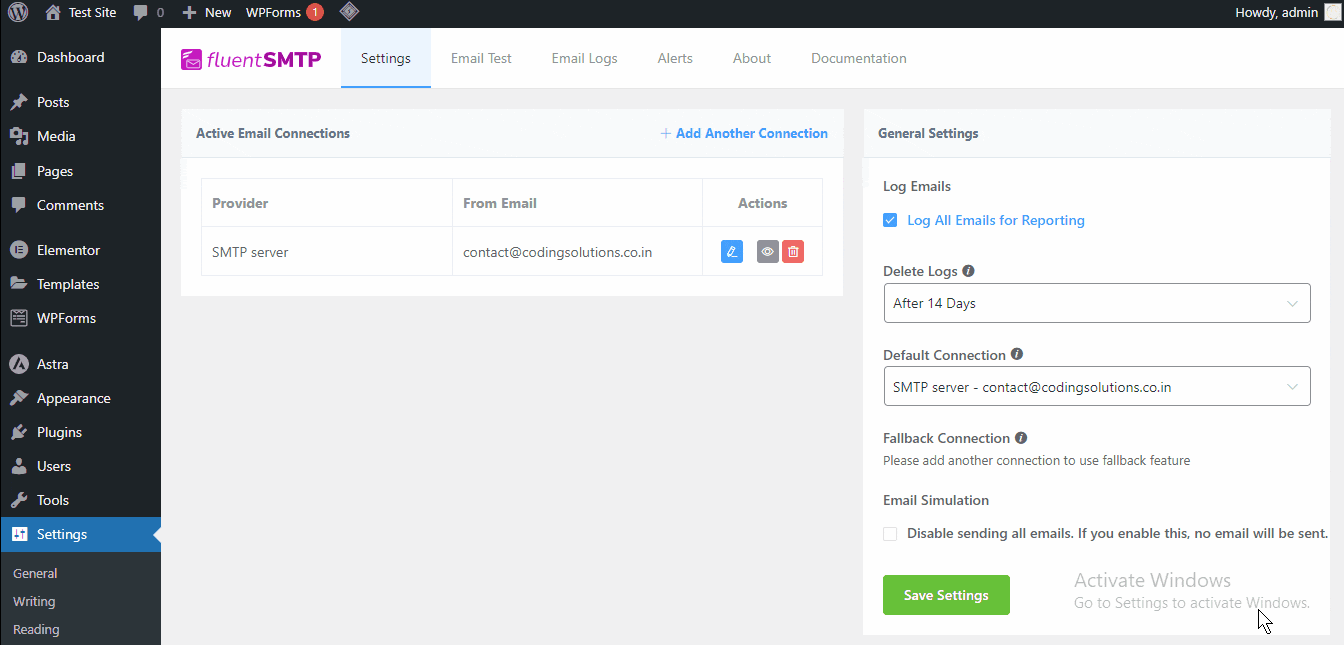
Plugins
A "Plugin" in WordPress websites is used to add specific functionality to your website, through which you can do some specific tasks in your website. There are 100s of free and premium plugins available for you to enhance features for your WordPress websites.
These are the basics of creating a WordPress website. I will guarantee you that by spending a little time you will be able to make a good and functional website. But to build better websites, you must have better knowledge of WordPress. Read my articles to find your specific query.